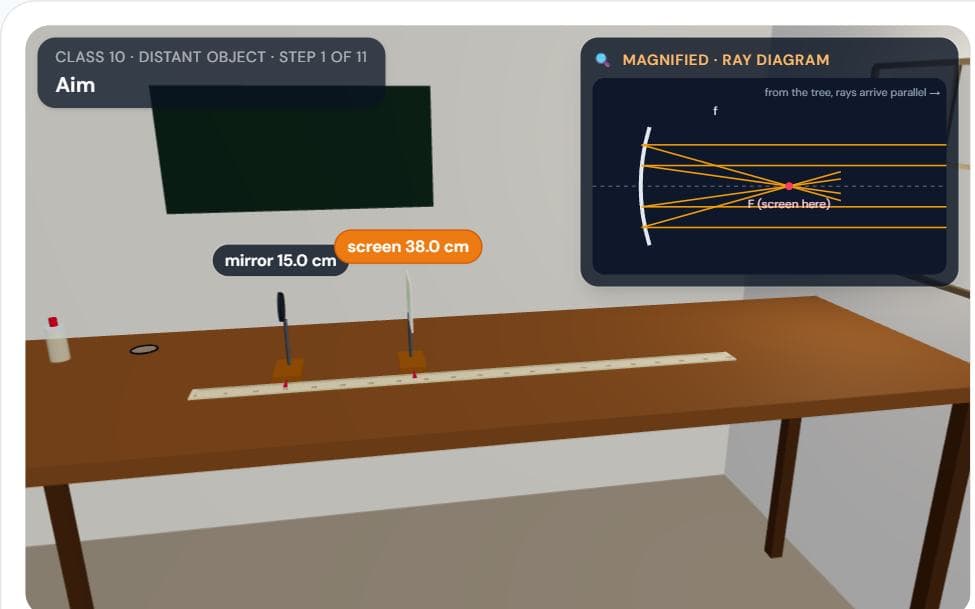
About the Focal Length Lab: Concave Mirror & Convex Lens simulation
The focal length practical is in every school lab, in two versions. In Class 10 you focus a distant object — a tree seen through the window — on a white cardboard screen. Rays from far away arrive parallel, and a concave mirror or a convex lens brings parallel rays to the principal focus, so the distance from the mirror or lens to the screen is the focal length. This simulation sets the practical at a 3D lab table and walks through it one step at a time: aim, apparatus, theory, setting up, focusing, three readings for each device, the observation table, the result, precautions, sources of error and viva questions.
In Class 12 the same focal length is found by the u–v method on an optical bench. An object needle is placed beyond F, and a second needle is moved until it shows no parallax with the real, inverted image: the tips stay together as the eye sways. Before that, a knitting needle of known length gives the bench's index correction. Six readings on both sides of 2F give the u–v graph, a rectangular hyperbola that the line v = u cuts at 2f, and the 1/u–1/v graph, a straight line of slope −1 cutting both axes at 1/f.
Nothing snaps into place. The screen image looks sharp over a short range of positions (depth of focus), every reading is rounded to the 0.1 cm least count, and parallax is only as good as your judgement, so your readings scatter like real ones. The result step compares them with the maker's value and explains why the distant-object method reads slightly long: a tree 20 m away is not at infinity.
Also covers: focal length of concave mirror, focal length of convex lens, distant object method, u-v method, optical bench, parallax removal, 1/u vs 1/v graph, index correction, class 10 physics practical, class 12 physics practical.